Basic Terms & Concepts to Know
As you read this manual—and ask WebSanity for help!—knowledge of these terms will help greatly so that we’re all talking about the same things.
Editor Toolbar
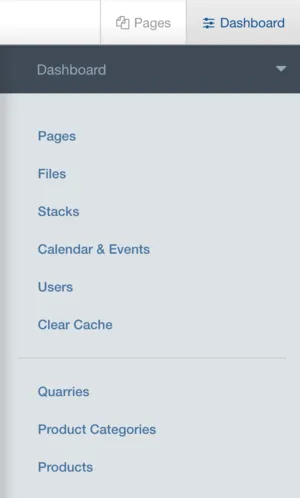
When an editor logs in, they will see that the Editor Toolbar appears at the top of every Page, which you can see in the figure below.

The toolbar allows the editor to switch the page into and out of Edit Mode, change Page settings, create new Pages, and visit the Dashboard to perform other tasks.
Edit Mode
Edit Mode allows an editor to change, remove, move, or add content Blocks on the page.
You can tell a page is in Edit Mode when the button in the toolbar is green with the label Exit Edit Mode, as you can see below in the figure below.

At times some page content (usually interactive elements) is not displayed when a page is in Edit Mode, but this is pretty rare.
Where editing takes place
When you edit your site, you're actually editing Blocks, which are inside Areas, which are determined by Page Types. Confused? Read on!
Blocks
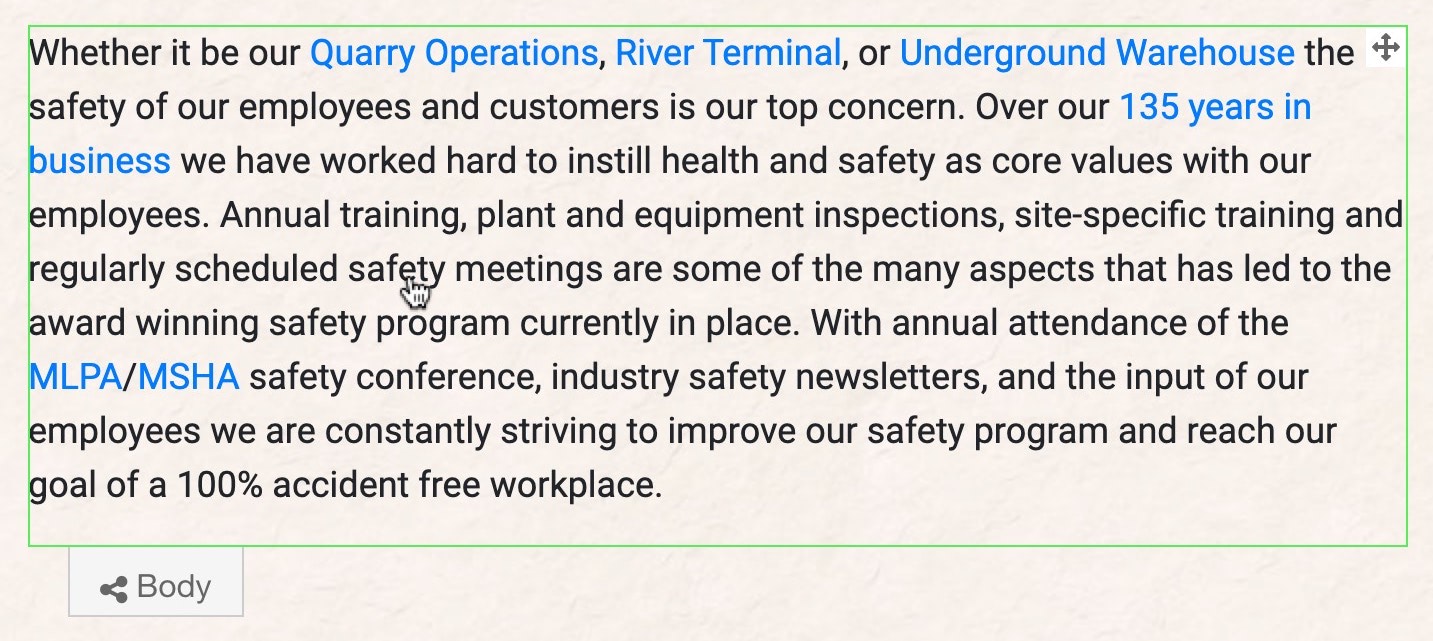
All Page content is built using Blocks, which are chunks of editable content that have names like Content Block, Image Block, and YouTube Video Block. When you hover over Blocks they show green outlines around them, as you can see in the figure below.
The WebSanity CMS has a wide selection of Blocks for you to use. If you need others, WebSanity can add or create them for you.
Areas
Blocks are contained inside Areas, which are pre-defined regions of a Page. Areas have names like Body, Sidebar, Featured Images, and Footer.
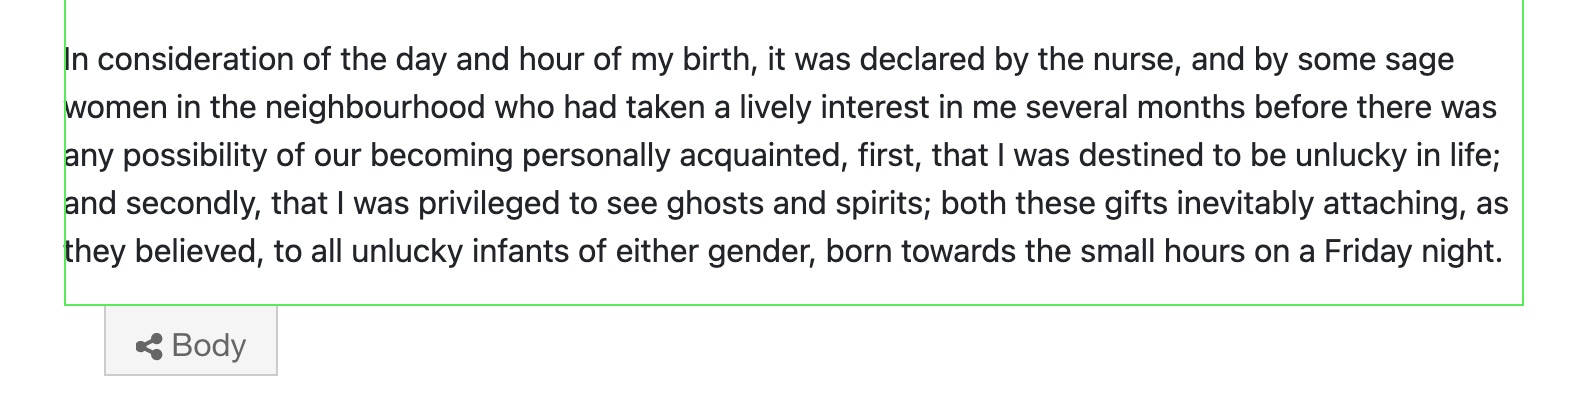
You can see Area Indicators at the bottom of an Area when you hover over it—a small tab with an icon and then the name of the Area, as in the figure below. Notice also the gray line that appears around the Area, although if there’s a Block at the bottom of the Area, you may only see a green line.
Page Templates
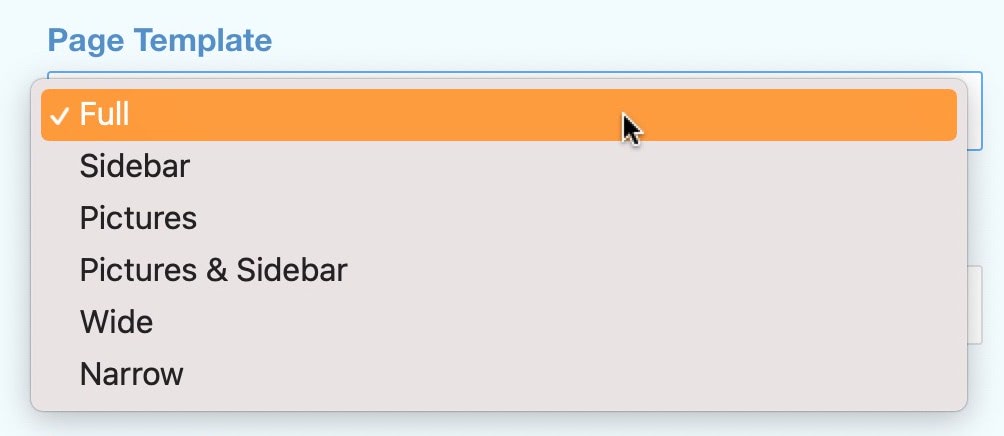
Areas you see on a Page, as well as where those Areas appear, are determined by Page Templates. When you create a new Page, you have to select a Page Template, as you can see in the figure below.
Page Types
When you create a new Page, you first select if it is going to be a general purpose or have a special purpose, such as:
- News posts
- Product details
- Animal details for a Zoo
- Podcast episode
- Special events
After you choose a Page Type, you will be in the Composer, which will show you different form elements that are appropriate for that Page Type. Among your choices will be Page Templates, discussed just above.
When WebSanity develops your website with you, we will work with you to come up with your list of Page Types. You can see a typical list in the figure below.
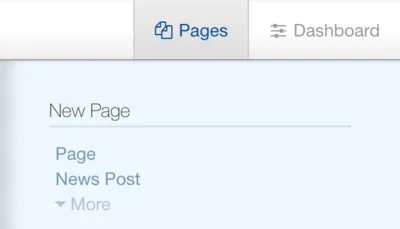
Basically, here is the order in which you will create and edit content:
- Create a new page by selecting a Page Type.
- In the Composer, enter the Page’s basic information and select a Page Template.
- In the newly created Page, add any needed Blocks into the Areas that are included in the Page Template.
Editing & management tools
As an editor, you have a variety of tools available to you to change the content on your site and control how your site looks & works. Let's review the following:
- WYSIWYG editor
- Versions
- Approving & Publishing
- Dashboard
WYSIWYG editor
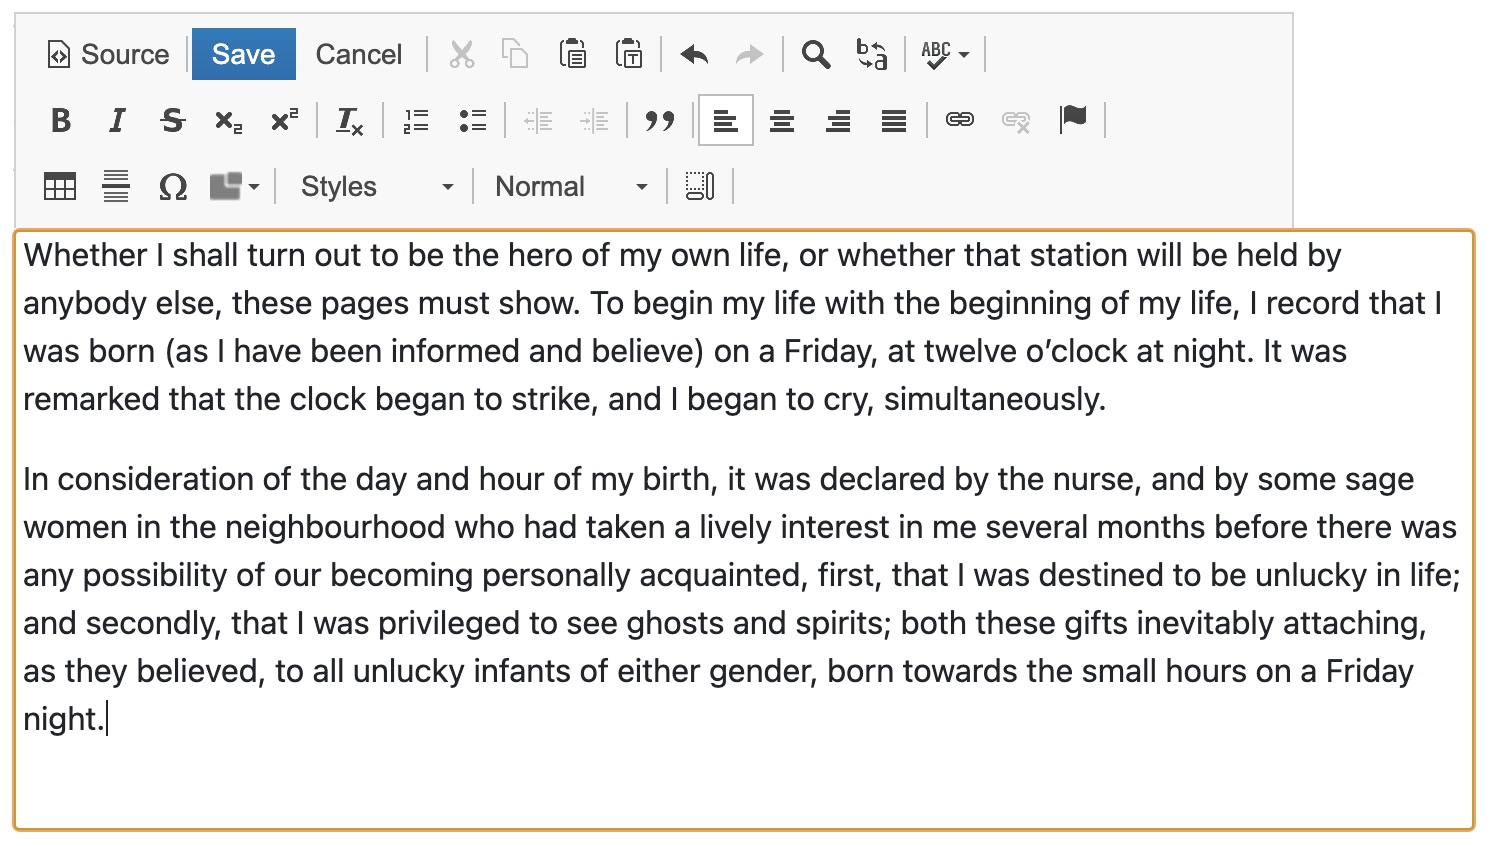
WYSIWYG stands for “What You See Is What You Get”. You'll use it to edit content in many Blocks.
The WYSIWYG editor looks a lot like a word processor such as Microsoft Word or Google Docs, as you can see in the figure below. It looks like you're typing in plain English, but you're actually generating HTML behind the scenes.
The WYSIWYG editor is covered in depth in Appendix: The WYSIWYG Editor.
Versions
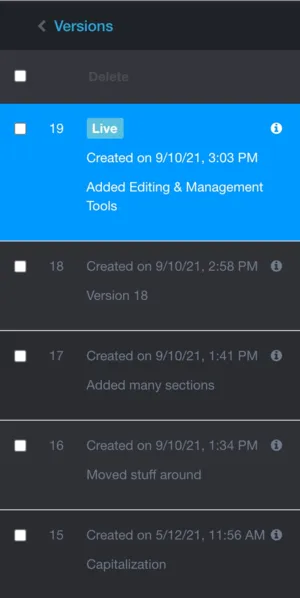
Each time you edit and save a Page, a new version is created. Old versions are saved so you can revert to them if necessary, as shown in the figure below. You can even compare versions to see what’s changed.
Read more about this handy feature in Versions, later in this manual.
Approving & Publishing
When you publish a Page to go live so the public can see your changes, you Approve it. In other words, approving & publishing are the same thing. It’s just that sometimes, depending upon where you are in the process, you might see Approve and sometimes you might see Publish.
You can edit Pages as long as you’d like and as many times as you’d like before publishing them.
Dashboard
Editors and Administrators can access the Dashboard, where they can administer the website, as you can see in the figure below.
Different groups of editors will see different buttons on the Dashboard.